
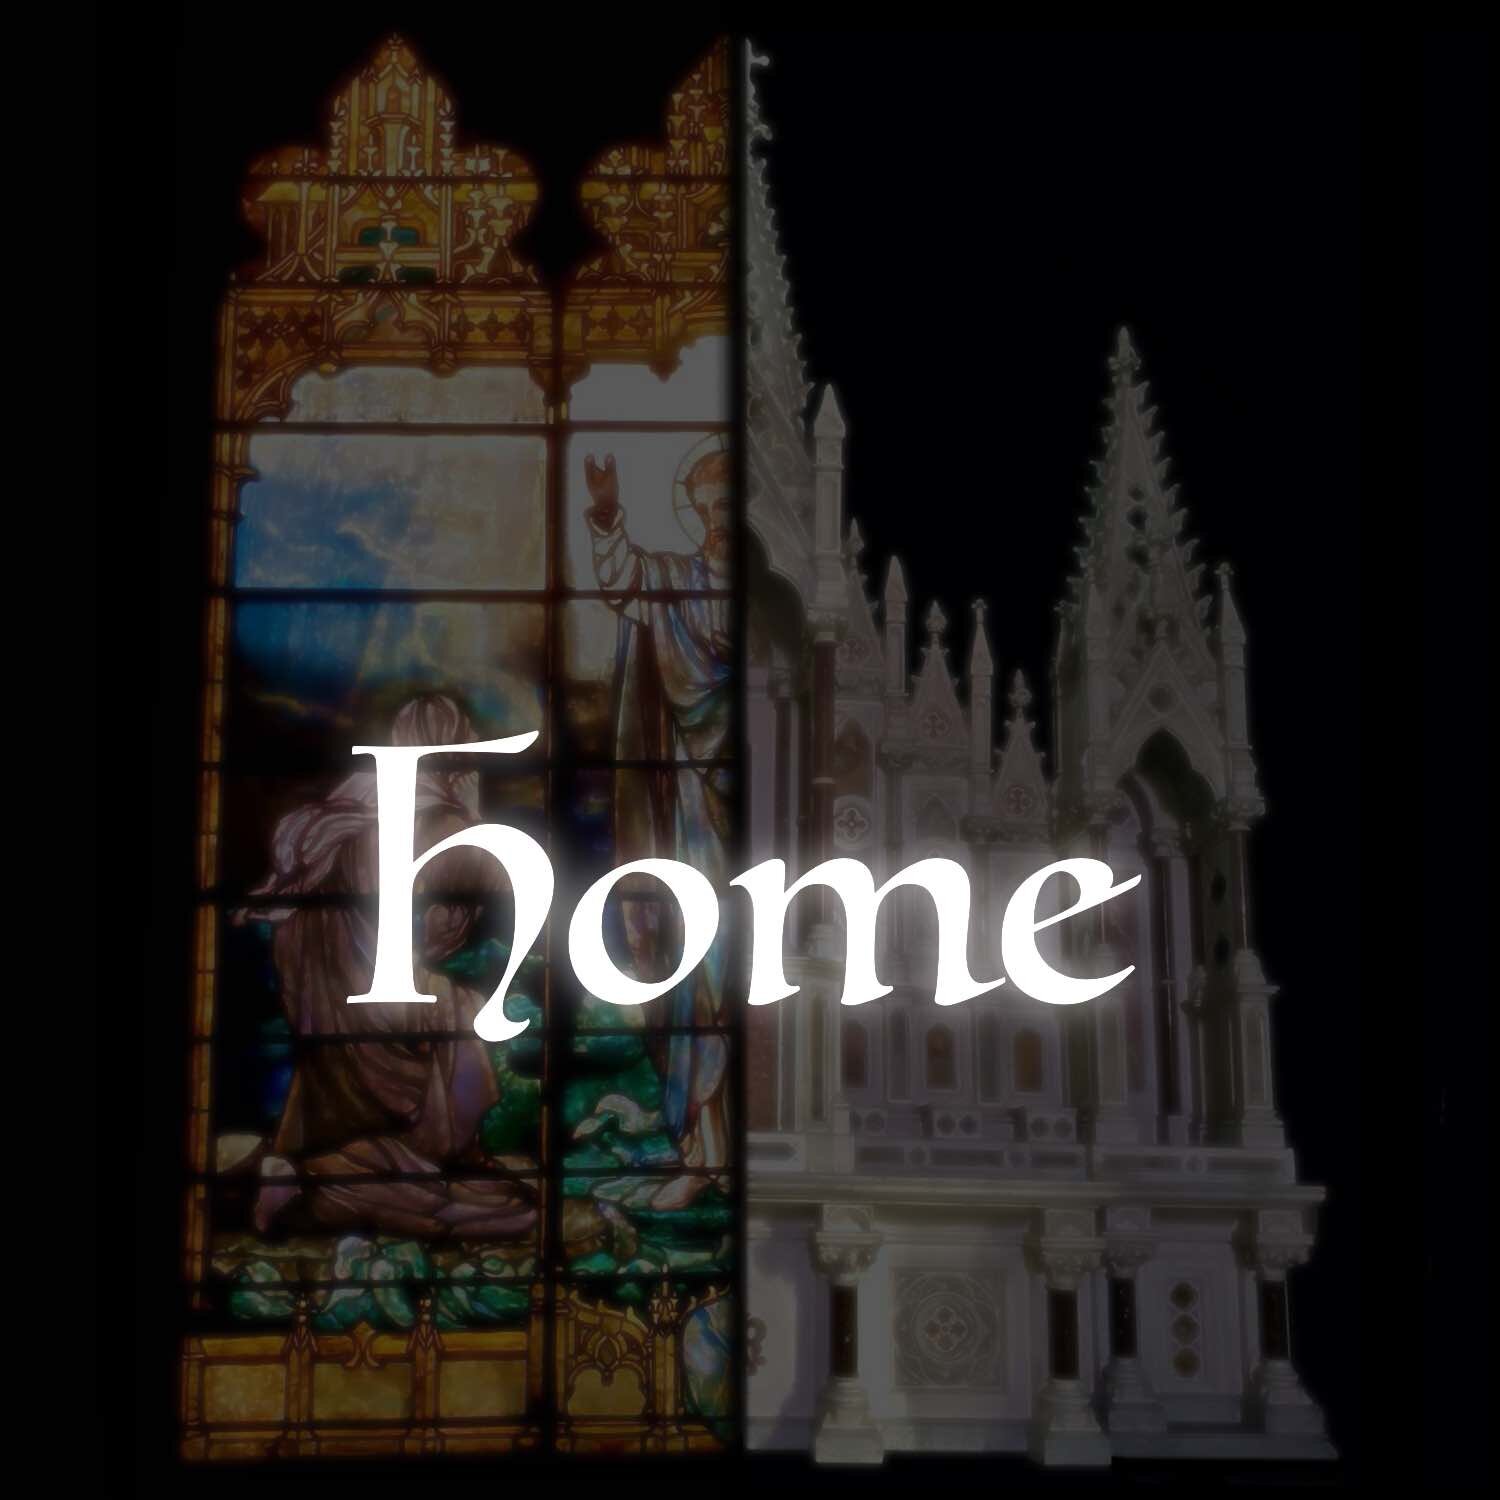
~RECENT PROJECT #9004~

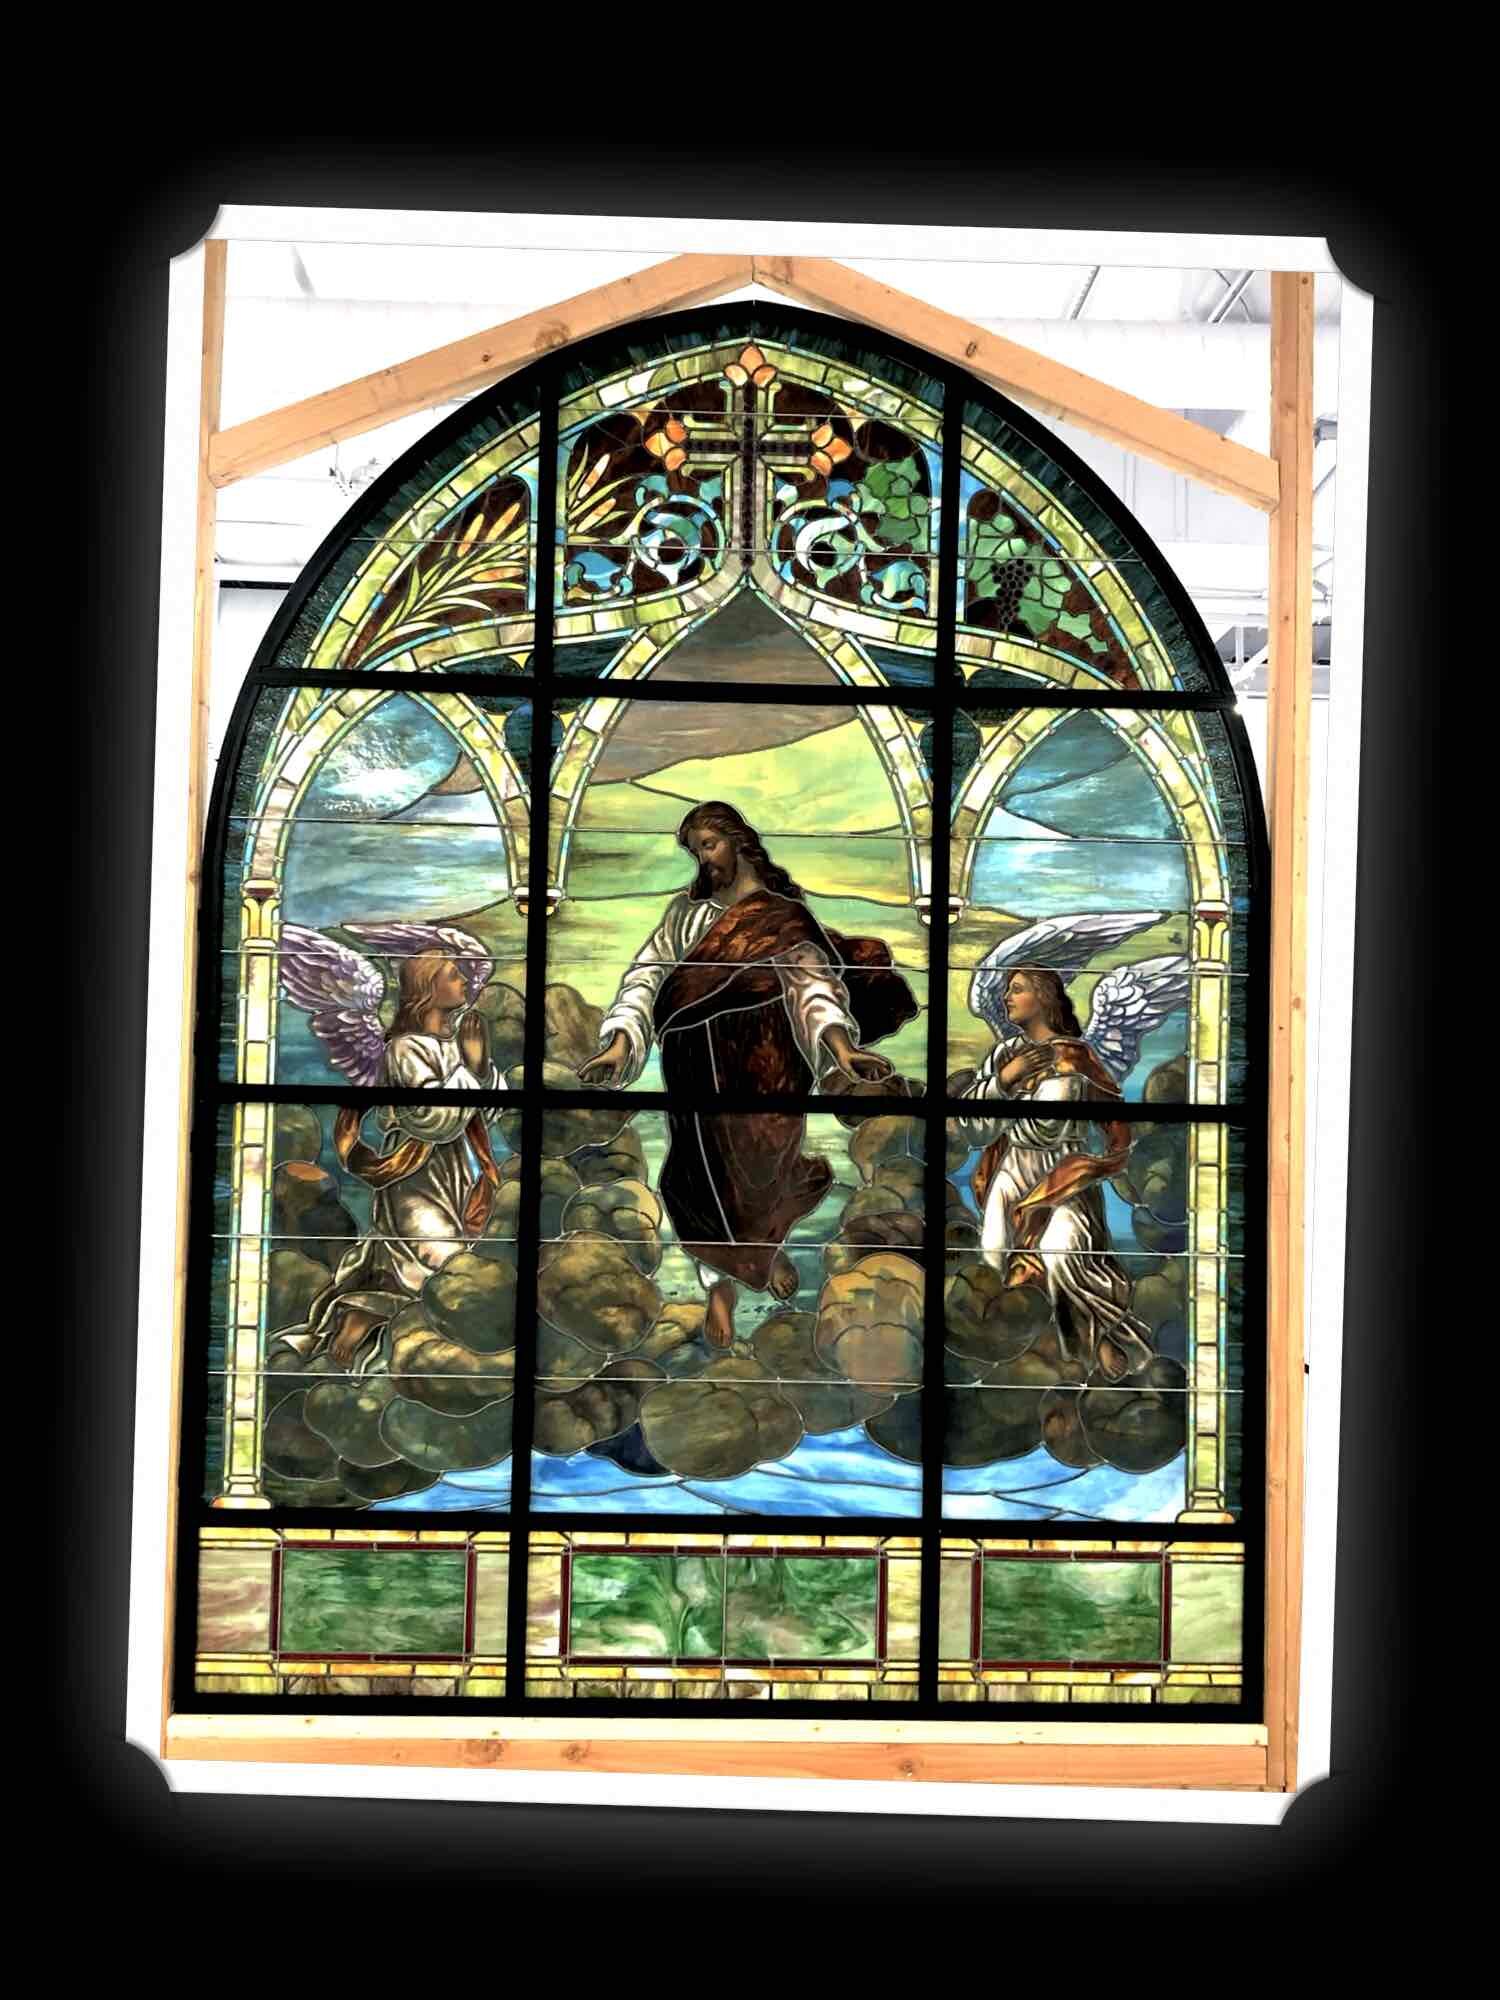
JDT Studio recently had the unique privilege of facilitating the sale, cleaning, restoration, and re-leading of a massive, historic “Christ’s Ascension” stained glass window that came from a church out East but had been stored in an old barn for many years now. The window was also crated, shipped, framed, and re-installed by JDT Studio in a famous art gallery out West so that it could be enjoyed and experienced by all for generations to come.

Follow the intricate process by looking through our step-by-step photo gallery below.
Also, if you, or someone you know, would like more information for your own project (or just out of curiosity) feel free to email us.

Step 1: Window panels are safely inspected on-site in the old barn.

Step 2: Panels are carefully wrapped in thick, soft insulation for maximum cushion during transportation in their wooden crate.

Step 3: Glass panels are labeled and notations are made on the glass for later use in the Studio.

Step 4: The entire stained glass window is crated and driven to the shipping terminal for transportation to the Studio.

Step 4: Window panels are sketched into blueprints for later use as templates on-which the panels will be reassembled.

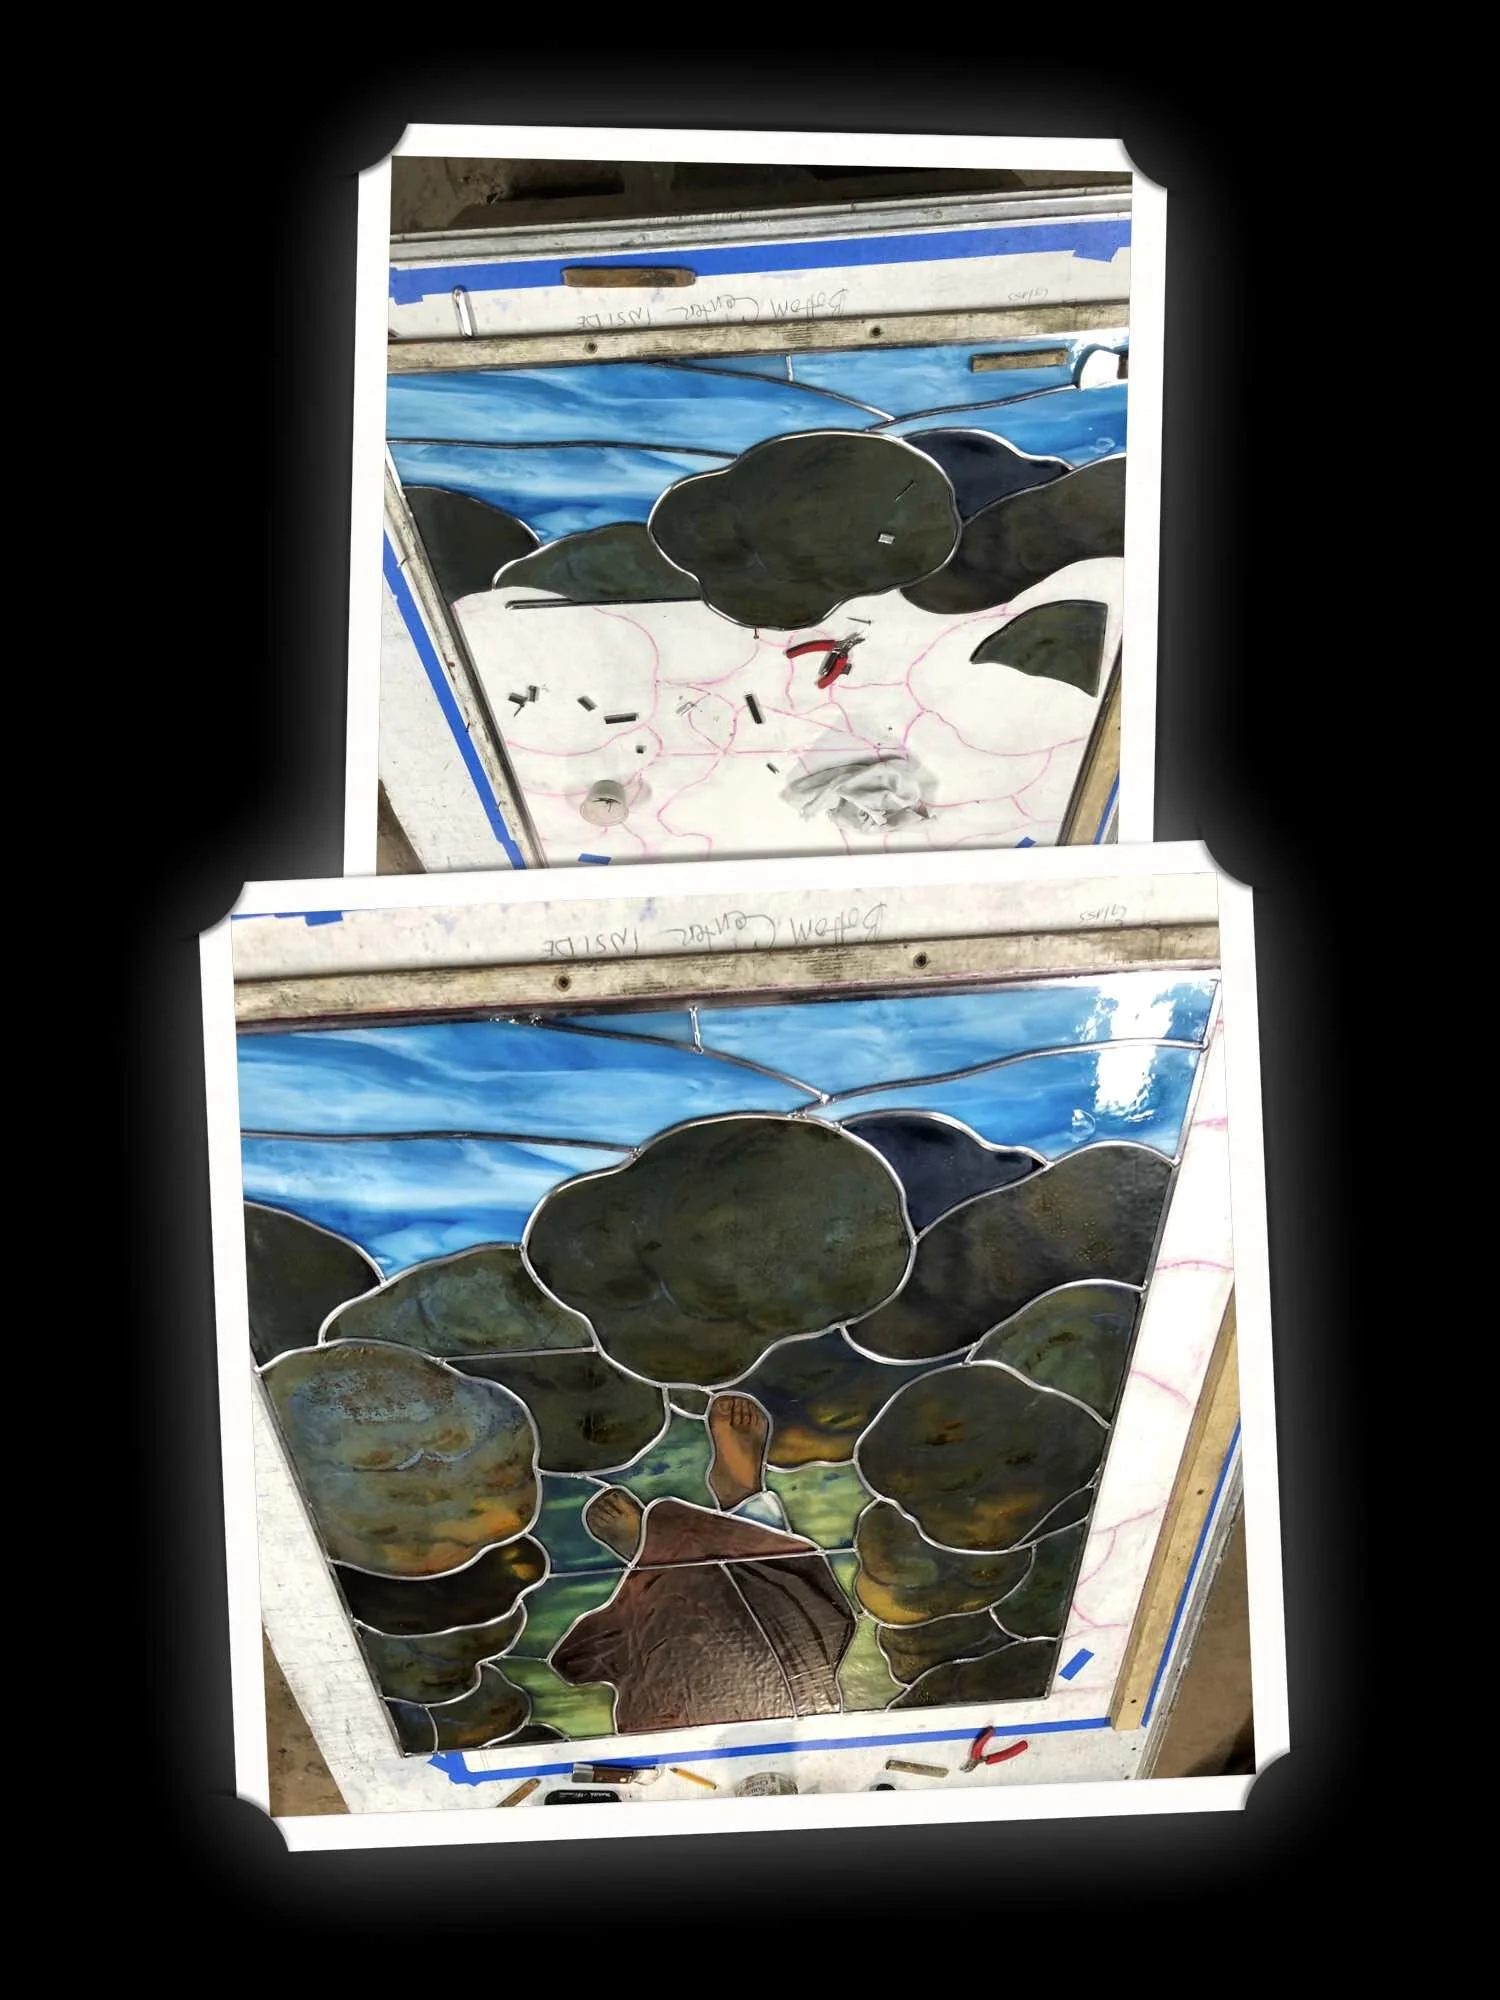
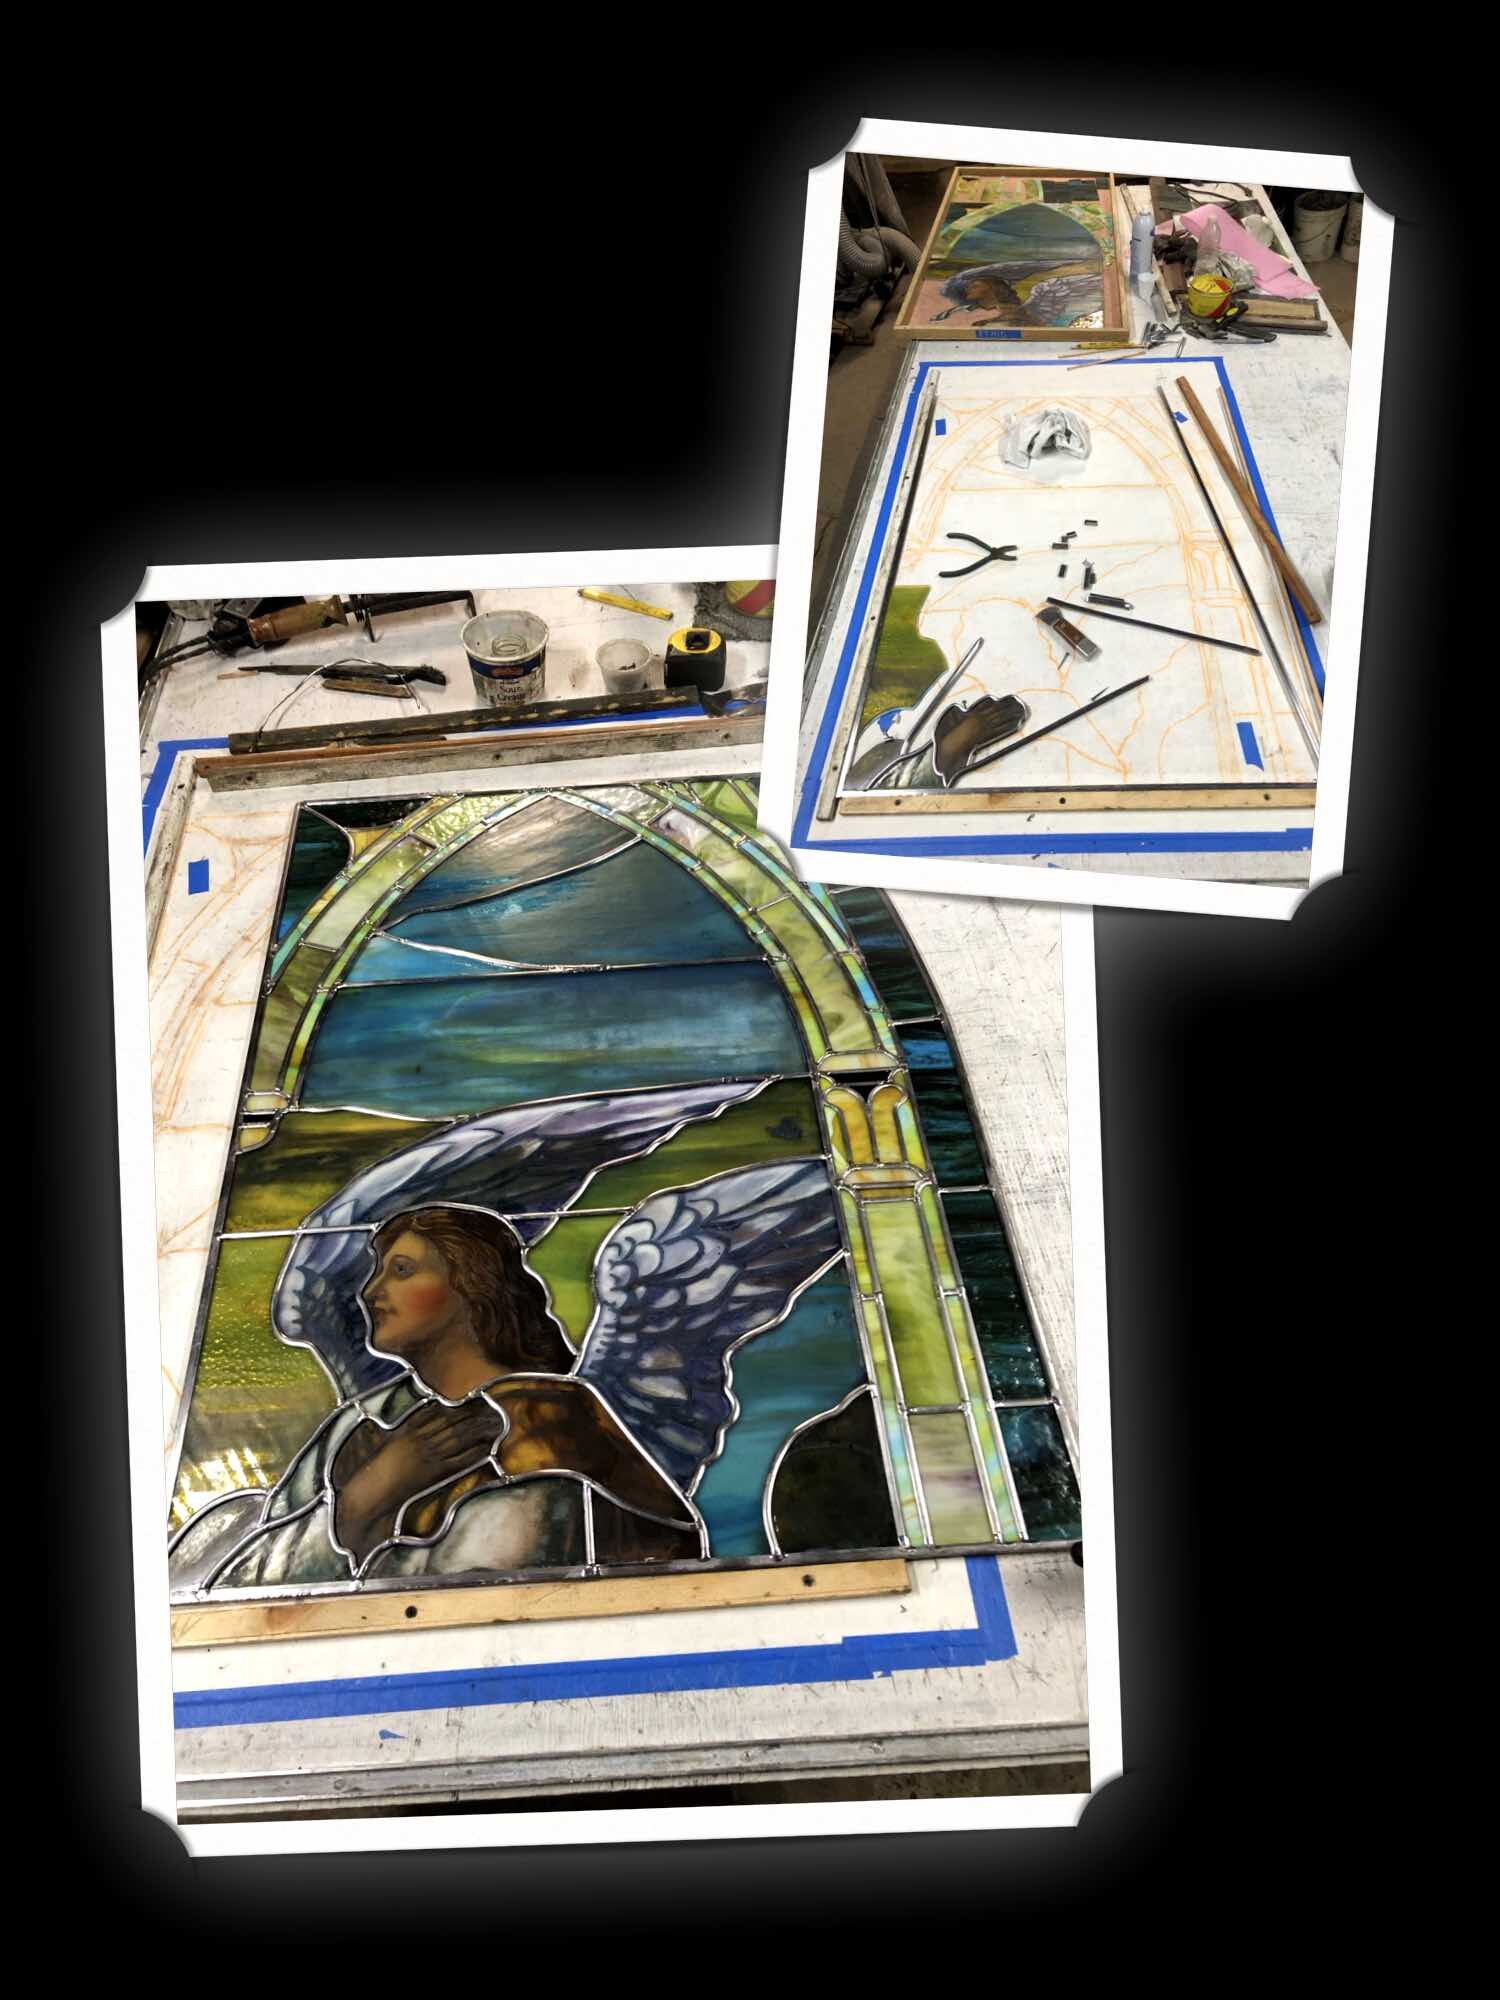
Step 5: Old lead is stripped-out and glass is re-organized without lead for visual inspection of cracks or damage.

Step 6: Large shatters and holes in unpainted glass sections are the first to be repaired.

Step 7: All undamaged glass is gently placed in a special soak bath to loosen ancient cement and debris.

Step 8: Heavily-damaged painted glass pieces are re-traced, re-painted, and re-fired by an expert artisan.

Step 9: Custom wooden boxes are built to the exact size that the window sections will be.

Step 10: The cleaned glass is put back together a 2nd time without lead for another visual inspection.
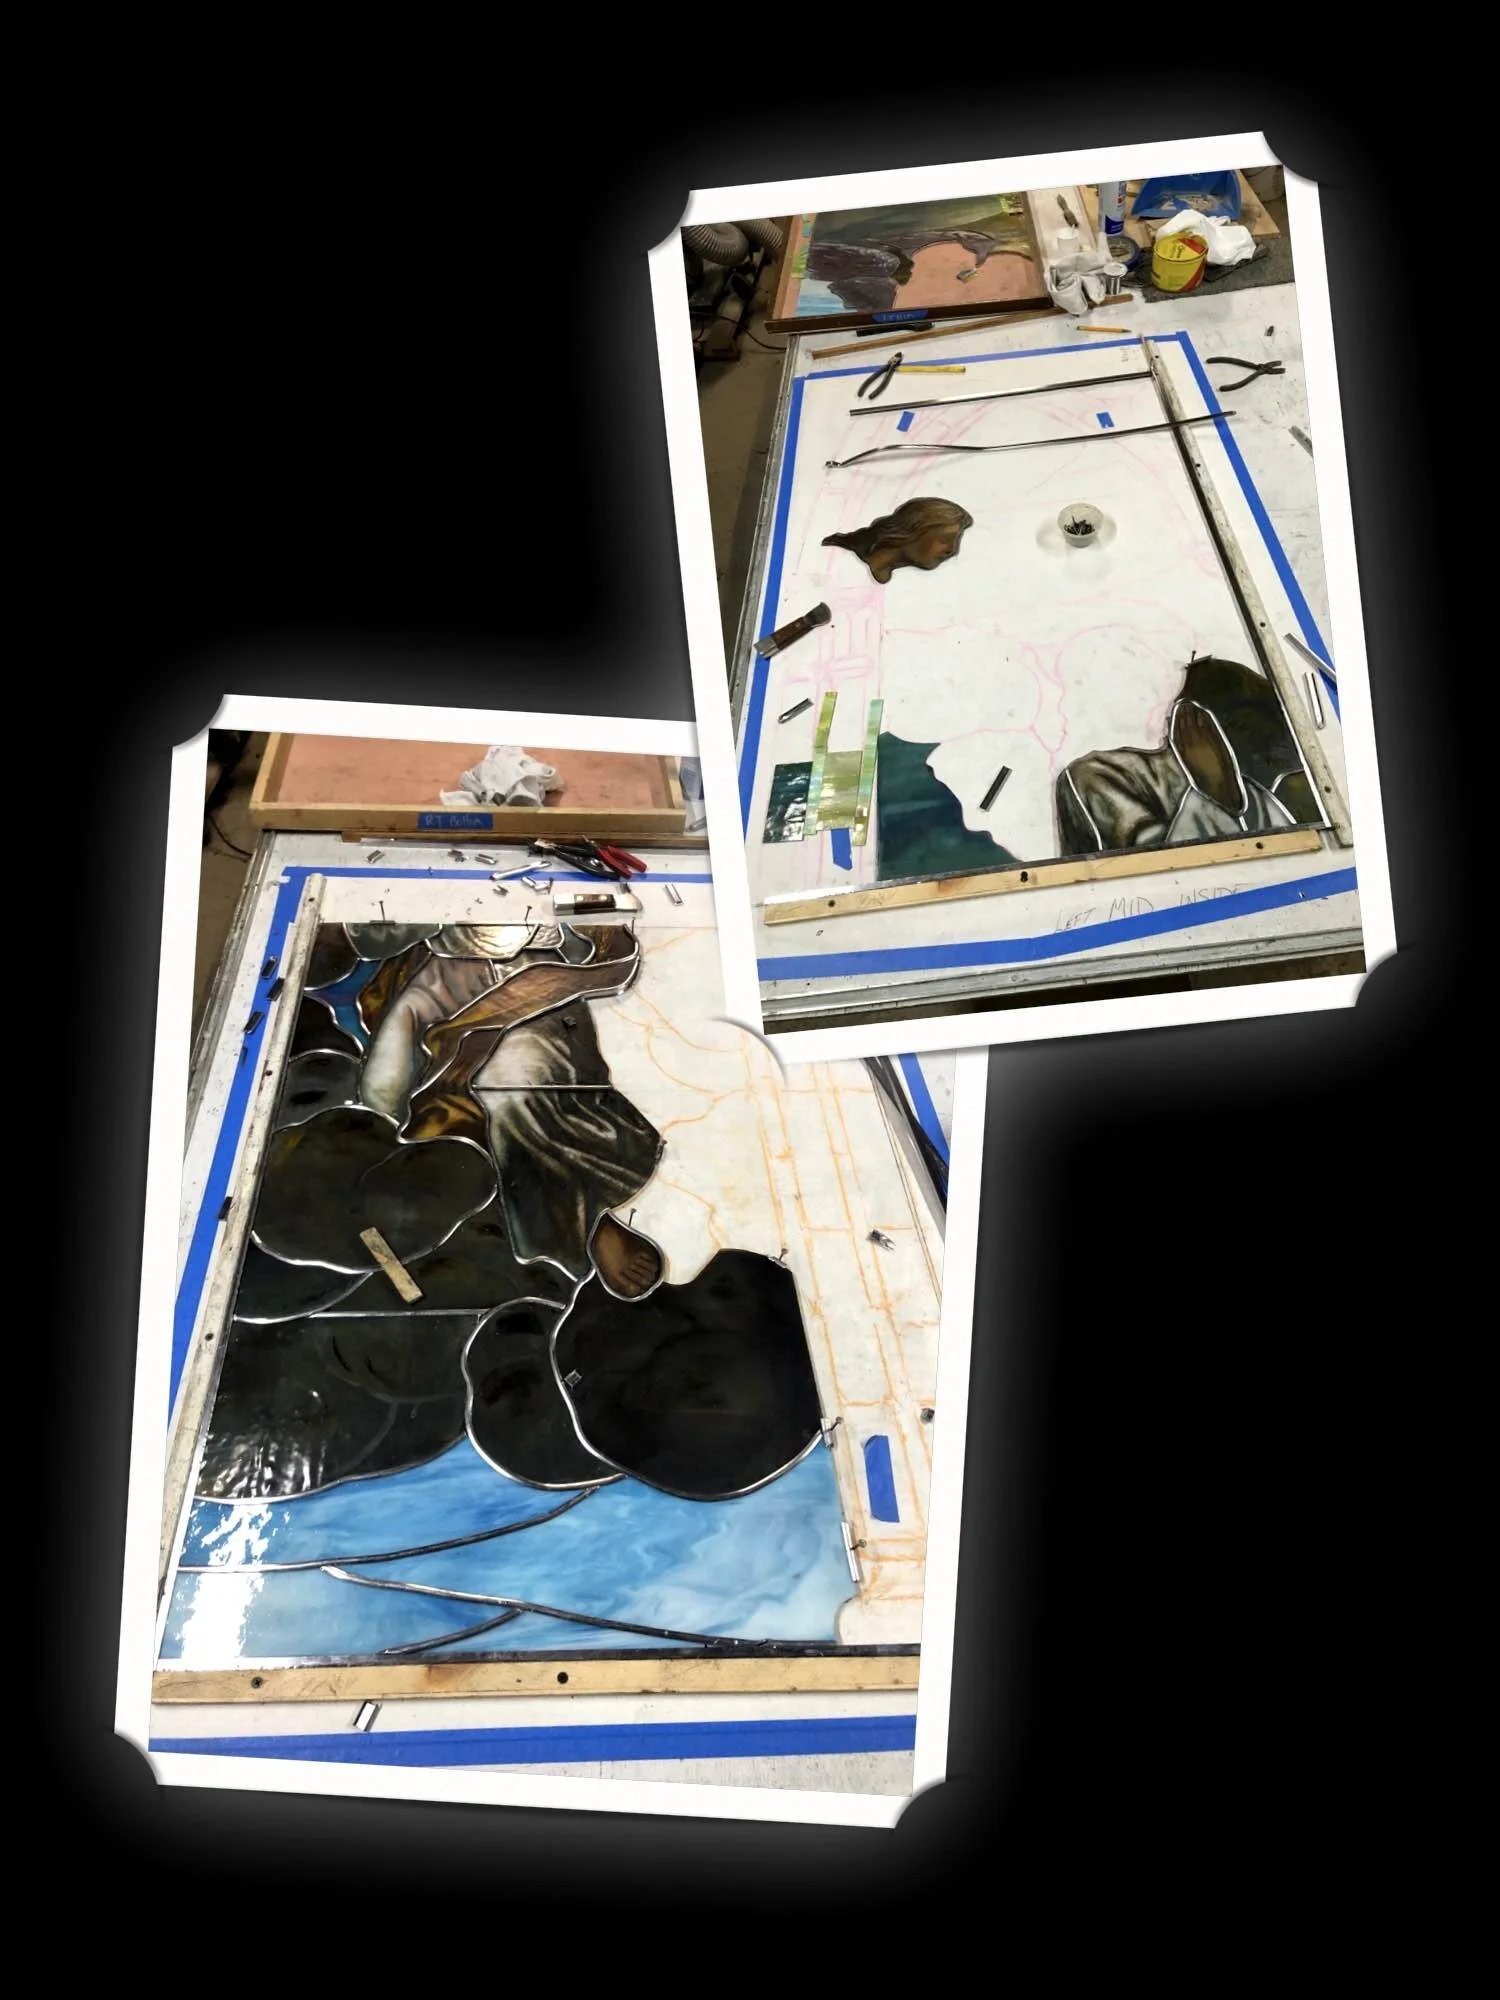
Step 10: Blueprints are placed inside the boxes and the glass is reassembled a 3rd time, but this time with new, loose lead.

Step 11: This rigorous process is repeated for all 12 large sections of the window.
Step 12: “Dutchmen,” or “false-lead lines,” are added over singular cracks in order to preserve as much original glass as possible.

Step 13: Certain sections contain double-layered glass, meaning there is twice as much glass, and labor, in one section.

Step 14: Double-layered glass sections are sandwiched and soldered together once both layers have been restored.
Step 14: Lead joints are soldered to create an extremely strong and durable stained glass panel.

Step 15: Cement is pressed into the soldered lead channels, then cleaned off of the glass, to make the panels stiff and non-flimsy.

Step 16: A new, industry-standard metal frame is diagrammed and custom-built using the proper dimensions and top radius.

Step 17: Thick wooden studs are bolted to the ceiling and floor to house the 1-of-a-kind, customized metal frame.
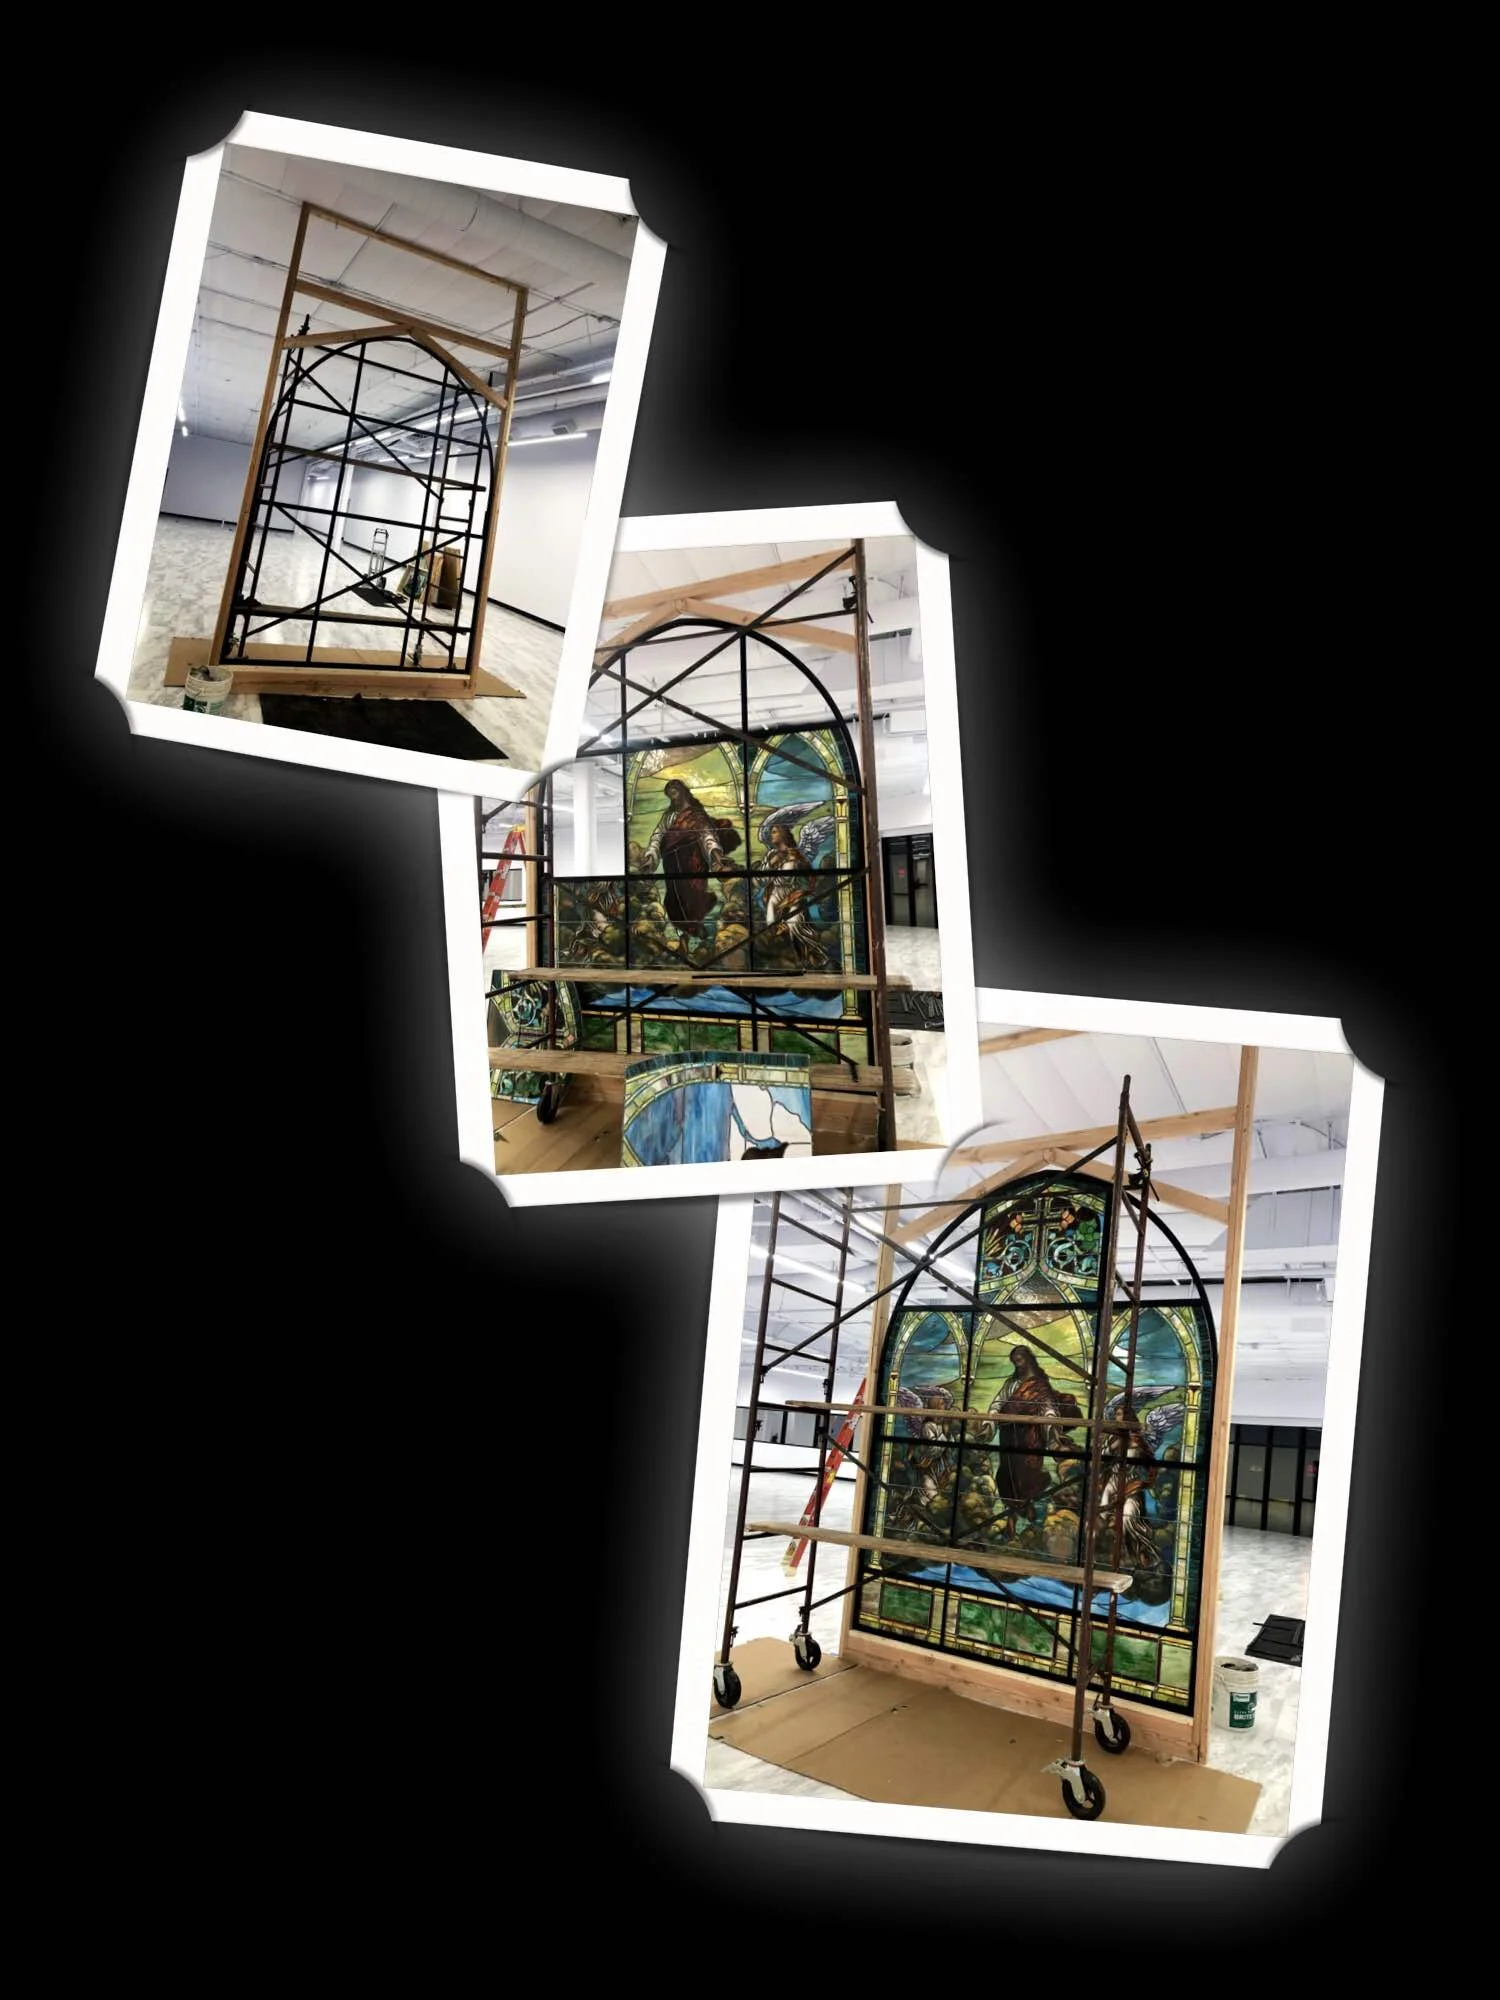
Step 18: Metal frame is assembled and glass is erected where a wall will later be built around it.
Step 19: A wall was later built around the “new,” antique, fully-restored, fully-framed window.

Step 20: The historic “Christ’s Ascension” stained glass window is truly breathtaking when fully backlit in it’s new Art Gallery home out West.
Step 21: If you, or someone you know, would like more information for your own project (or just out of curiosity) feel free to email us.